
Showing posts with label Nail Polish. Show all posts
Showing posts with label Nail Polish. Show all posts
DIY Transparent Frock and Monotone Half Moon Nails
Monday, February 14, 2011
Ivania always kills it, what more can I say? And those nails? Awesum! She made the dress herself, naturellement


Guest DIY Post: Topshop SS11 Inspired Nails by MJ of Dreaming Spires and Old Car Tyres
Saturday, January 29, 2011
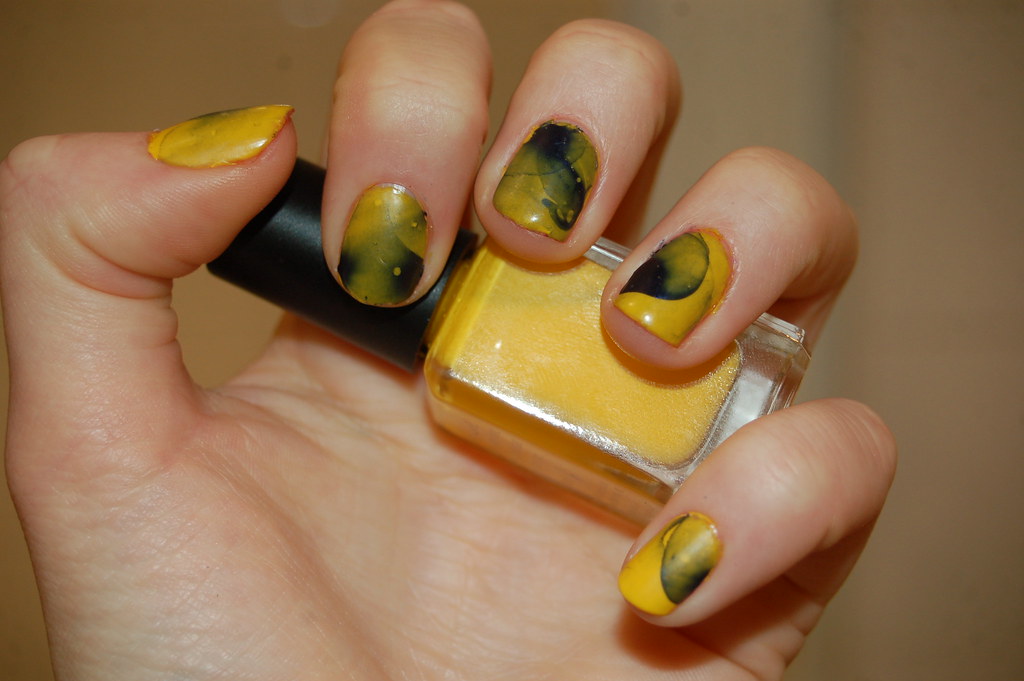
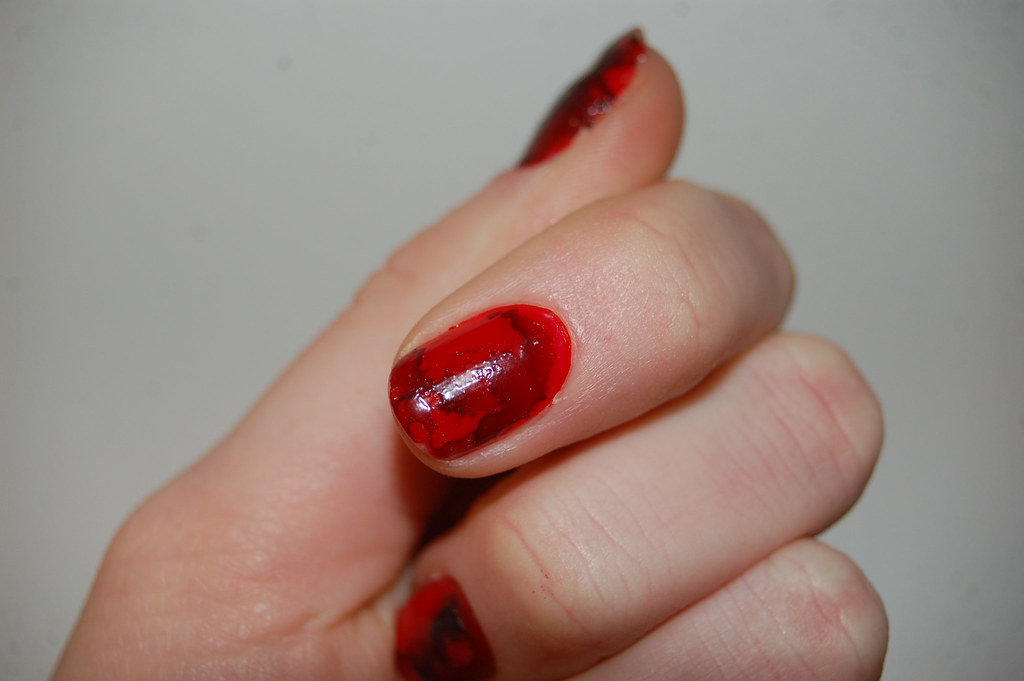
My gorgeous friend MJ of Dreaming Spires and Old Car Tyres has done a tutorial of her tie-dye nails inspired by the Topshop SS11 collection. I saw them on her blog a while ago and just had to know how she did then. MJ jas been doing a number of nail DIYs inspired by SS11 collections. Aren't these ones perfect and oh so 70's? She's done a fantastic video tutorial for you all, showing a very interesting water marbling technique to get the tie dye effect. It looks like it takes a bit time and a whole lot of skill, and the technique has the most beautiful results. I know this is something I am going to have to practice a bit (or a lot!), and can't wait to try. And MJ has the cutest accent too. Scroll down for the video tutorial. I hope you'll also head of the MJ's blog and check out all her other fantastic DIYs!


DIY Rainbow Nails
Wednesday, January 19, 2011
I. Love. This. Both MJ of Dreaming Spires and Old Car Tyres and Shini of Park & Cube (snapped by the lovely Jen of The Style Crusader) have added a POP! of colour to their still-winter outfits by painting themselves some rainbow nails.


DIY Glitter Dip Nails
Wednesday, December 1, 2010
Kate from This is What I Do has done a simple and amazing DIY - glitter covered nails. I love it when someone hits the DIY nail on the head. Here are Kate's instructions:
001.You need A pot of glitter(any colour you like),Clear nail varnish and a nail brush to dust away exces
002.Paint Your nails with a basecoat
003.Pour glitter all over your nails
004.Tap off excess glitter until you have an even coverage,and use brush to dust any flyaway glitter
005.Cover with a topcoat and hey presto...Beautiful Nails :)


 Images: This is what I do
001.You need A pot of glitter(any colour you like),Clear nail varnish and a nail brush to dust away exces
002.Paint Your nails with a basecoat
003.Pour glitter all over your nails
004.Tap off excess glitter until you have an even coverage,and use brush to dust any flyaway glitter
005.Cover with a topcoat and hey presto...Beautiful Nails :)


DIY Two Tone/Ombre Nails
Thursday, October 14, 2010
Although I only wear nail polish on special occasions, really like the DIY two tone nails seen on Style Scrapbook and Dreaming Spires and Old Car Tyres. MJ has even provided a tutorial for the subtle frosted ones she did here.I love the colours that both girls have used, and I think it would be cool using black and white for a monotone look.


DIY Wah Nails
Sunday, June 6, 2010

In the last 6 months London has gone bonkers for crazy nail desings, due in most part to the opening of Wah Nails on Kingsland Road in the East End. CRazy fun designs that have previously only been ventured by few are now all over the place, including the topshop basement (a sure sign that EVERYONE is onboard). The images above are the Wha's tumblr which has a huge amount of inspiration. However, whilst trawling the internet, found a really cool DIY for doing wah inspired nails. Gem from Gem Fatale's Style Blog has obviously put a lot of time and patience into this and really shows what you can DIY when you put your mind to it. She has videoed the whole process for anyone who wants to follow suit. Her finished product looked like this:

DIY Lace Nails
Wednesday, May 12, 2010
Don't spend a whole lot of time on my nails, but thought this DIY by Behind The Seam was very cute. Quite simple, just cut lace to fit nails and secure with topcoat (or glue if you are particularly skint). Could be cool for a party or festival?

Image: Behind the Seams

Image: Behind the Seams
Subscribe to:
Comments (Atom)


